Facts About Hardwood Floor Installation
The gleaming patina of a well-executed hardwood floor can be more than a dream. Once you have decided to on wood floors for your home, you may wonder how to get it done properly. Consider at these guidelines as you are preparing for your hardwood floor installation
Six Guidelines for Hardwood Floor Installation
1. Measure twice, cut once. There is much to be said for this old adage. Have a professional installer come and measure on site to make sure you order enough material. The only surprise you want is one of delight when you see great results.
2. Inspect and prepare the subfloor. The time to find out you have termites or dry rot in your subfloor is before you lay your new hardwood. Have the area inspected, treated and if necessary, rebuilt before laying your flooring. Fill gaps and holes; remove dust and debris and screw down any squeaky areas.
3. Open the door. Sounds funny? Well it won’t be a laughing matter when you attempt to open a door or closet and it won’t clear your new floor. Lay a piece of flooring down and make sure all doors clear. Leave a bit extra to accommodate rugs.
4. Get a trim. New flooring may require the replacement or addition of baseboard or other decorative trims. Determine what is needed and have it on site so that it can be installed at the same time.
5. Acclimate. Hardwood flooring should be allowed to rest flat in the room where it will be used. This allows it to reach the same temperature and humidity as the surrounding area and reduces swelling or shrinkage later on.
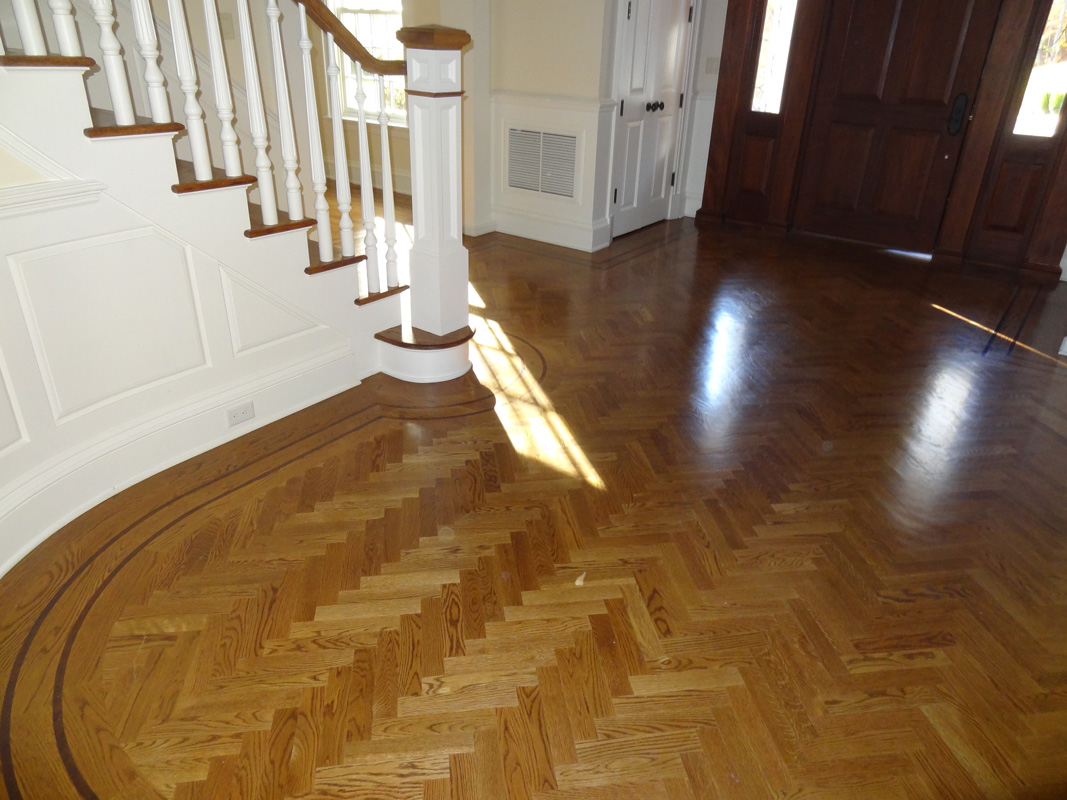
6. Get professional. Hiring a trained installer will ensure that planks fit tightly, tools don’t scar the wood, and difficult corners or curves look as nice as the rest.
Cutting corners often means paying the price in one way or another. These guidelines will set you well on the path to a successful hardwood floor installation that will bring lasting beauty to your home.