How to Install Finish Carpentry
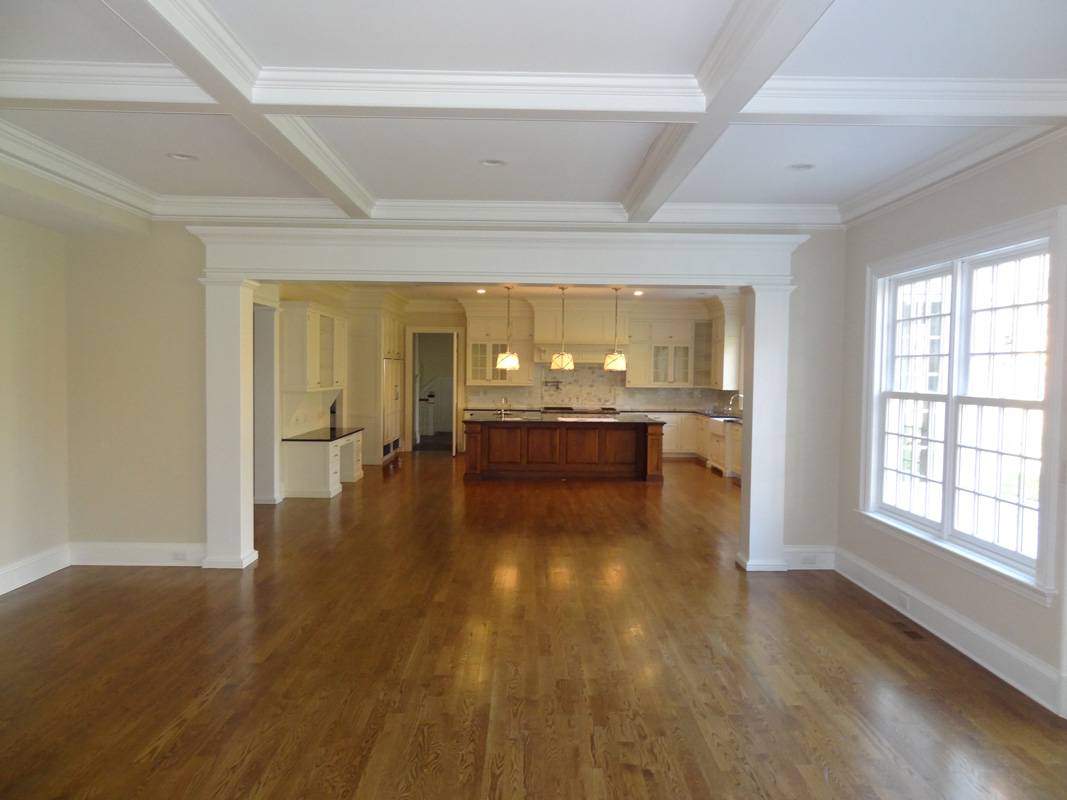
When it comes to finish carpentry, you want to pay particular attention to walls, corners and floors. The key to this step in installing carpentry is to give the project a complete and finished look.
Fix an Open Miter
This is a common issue and it occurs when misaligned door jambs and uneven walls are present. It makes it hard to make the miters tight-fitting. You can usually fix this problem by putting a bevel with a slight back on both of the moldings. This will allow the trim to lie flat and the miter joint will close.
The Trim is Not Fitting
If the space between the wall and the door is not wide enough, the trim will not fit without making alterations. This can also be a problem if the wall is uneven. You have to cut the trim to fit in the space or against a wall that is uneven. To ensure a right fit when the wall is uneven, you want to make sure that you scribe the moldings.
Baseboard Jogs
If your floor heights are not consistent, this can result in a problem referred to as baseboard jogs. You can place a transition block to help make this jog look purposeful instead of just uneven. Be mindful when using this method and make sure that the transition block matches the baseboards.
Sloppy Corners
If the corners are messy and have ridges and lumps, this can result in tilted or gapped baseboards. You want to clean these corners first and make sure that the wall is smooth. This ensures that the baseboards are able to lie flat against the wall for a finished look.
As you can see, finish carpentry is not difficult, but it does take some time and care. This is worth it in the end, however, before your space will look professionally done.